

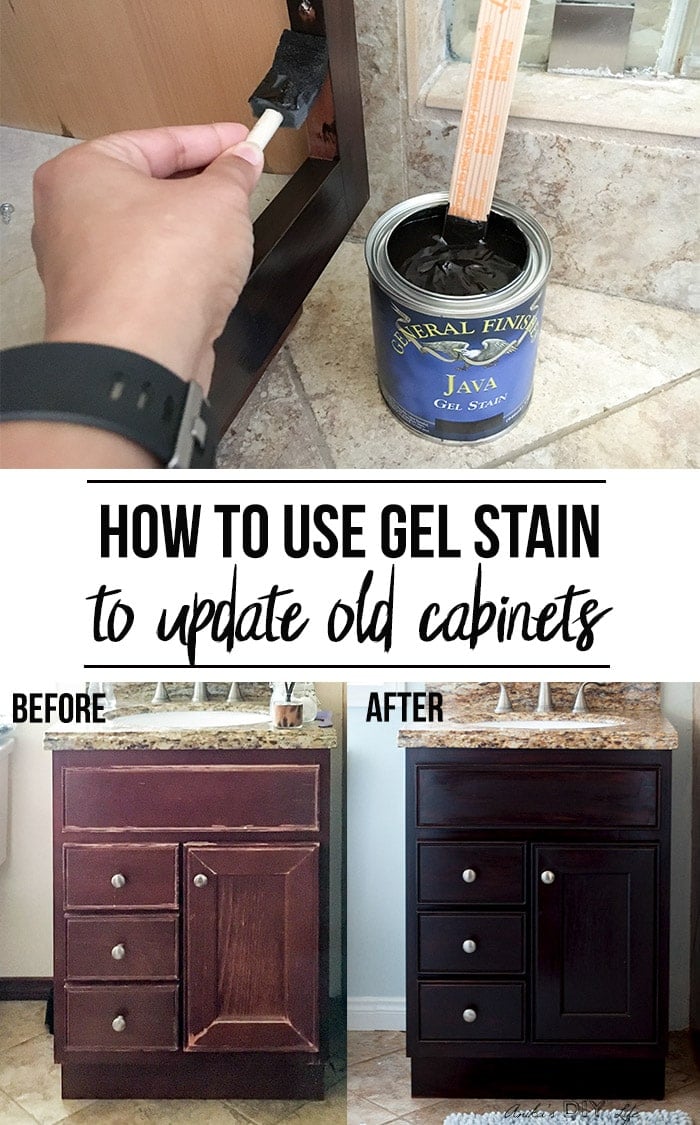
How To Use Gel Stain To Repair Cabinets
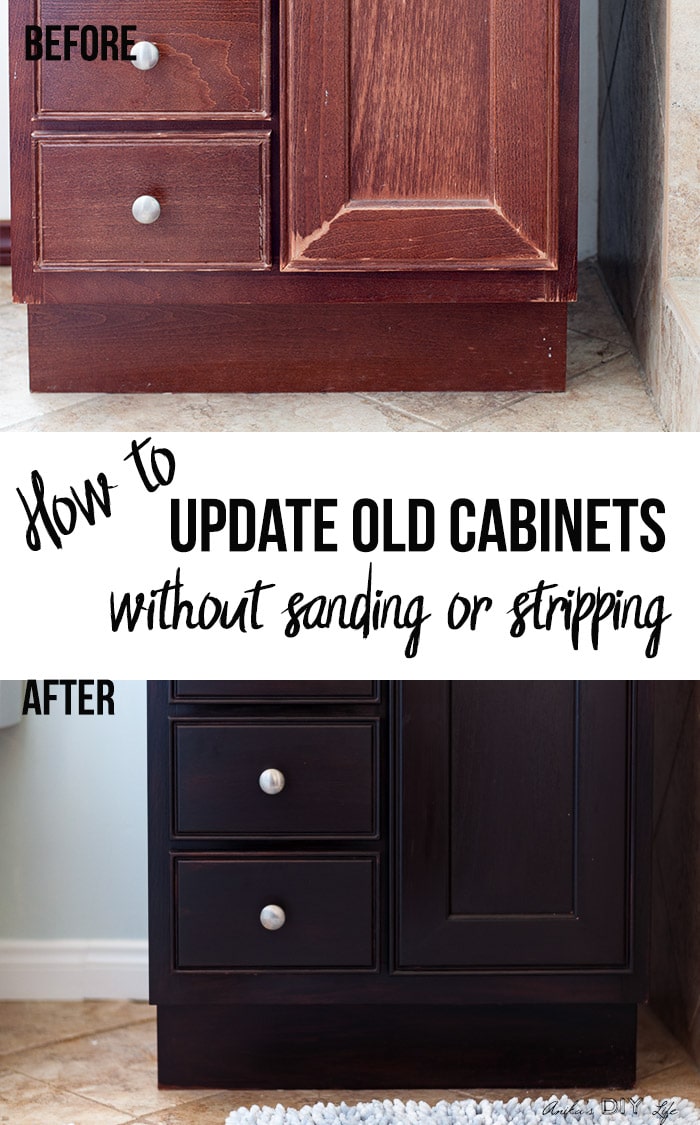
Acquire how to use a gel stain to easily update cabinets without whatsoever heavy sanding or stripping with this pace-by-stride tutorial and video.

PIN THIS TO PINTEREST
Let'southward talk about how to apply gel stain over old cabinets.
The Before
In my recent bathroom refresh, the one matter that needed major assist was the vanity.
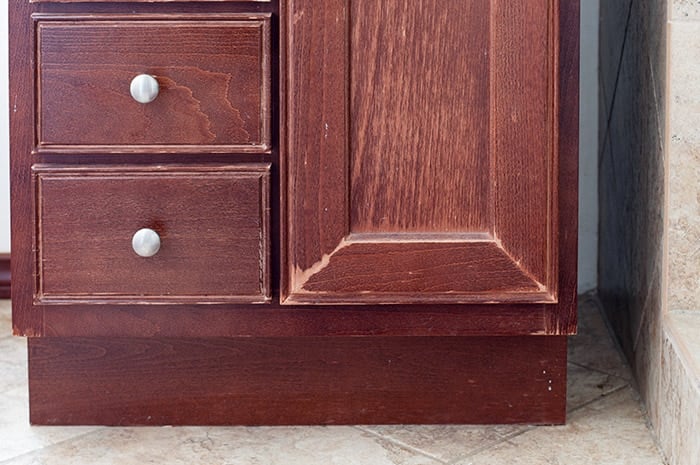
It had a LOT of moisture damage. We don't have a budget to change them out merely yet. Plus the vanity has pretty good bones and the perfect amount of storage with the 3 drawers.
Truth is, I really wanted to paint them a fun colour but that would simply not work with the tile in the shower and there was no way I was going to replace the tile.
To necktie it in with the tile in the shower, I decided to go with dark brown stain.
Now restaining an existing cabinet meant having to sand information technology downwards offset and nope, I was not doing that!
When I started looking into alternatives, I found gel stain!!!
Can I apply gel stain over finished forest?
Yeah, absolutely!! That is exactly what I did!! Plus I barely used a sanding cake!! See beneath for the complete tutorial including a video!
***This post contains chapter or referral links. It is a way for this site to earn advertising fees by advertising or linking to sure products and/or services. Please read my full disclosure here ***
Material Needed
- Gel Stain in color of your choice. I used this gel stain.
- Foam brushes
- 220 dust sanding block
- Tack cloth
- Nitrile gloves
- Wet wipes
- Top glaze
- Masking tape
How to utilise gel stain over stained forest cabinets
I showed how to use the gel stain to update the chiffonier door alive on Facebook. Watch below.
Detailed stride by step tutorial follows beneath.
PIN THIS TO PINTEREST
Updating Cabinets with gel stain –
Pace 1 – Clean the cabinets
- Remove all the knobs and take apart whatever removable parts of the cabinets.
In my case, it was i door and three drawers.
Tip – Brand certain to characterization the location of each door or drawer and then you lot don't forget where it came from later.
- Wipe down the cabinets to remove all the dirt and grime it may have accumulated. I used a wet wipe to exercise this.

Step ii – Sand
- Give the surface a very calorie-free scuff with the sanding block.
Yous don't demand to sand a lot – just plenty to create a calorie-free scuff. I talk more nigh this in the video higher up.
- Used a tack cloth to wipe away all the sanding dust from the surface.
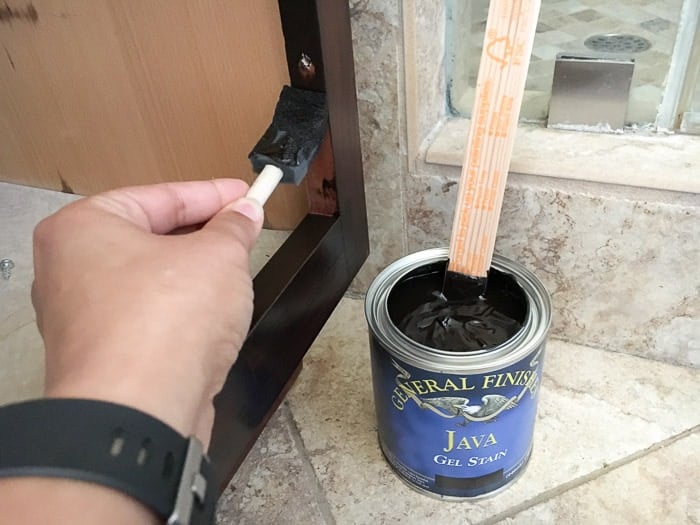
Step 3 – Utilize Gel Stain
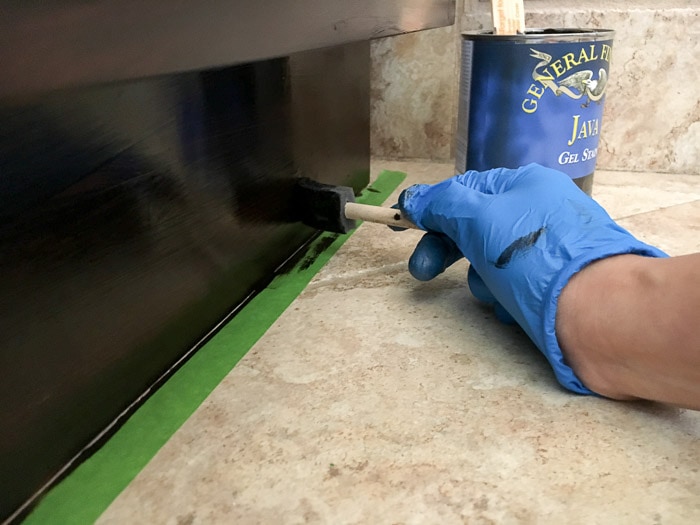
- Use a foam brush to apply the gel stain in the direction of the wood grain.
It won't look too very skillful subsequently the first glaze but after the second glaze, it looks bang-up!
Meet the video for more details!
Important – Just make sure you the previous coat is dry to bear upon before adding a new 1.
As well, Be sure to use nitrile gloves for this because you don't want the stain on your hands. Yes, I did not and learned it the hard fashion 🙂
Important – Be sure to put downwardly masking record on any edges that tough a dissimilar surface to protect them!
PIN THIS TO PINTEREST
Step 4 – Seal
Be sure to let at to the lowest degree 24 hours to dry before applying the sealing finish.
- Employ a sealing stop using a foam castor. I like to employ this high-performance tiptop coat.
Yous want to apply at least 2 coats of the sealing finish with 6-8 hours between each coat.
This volition add but the right amount of sheen and assistance protect the cabinet.

That's information technology!!
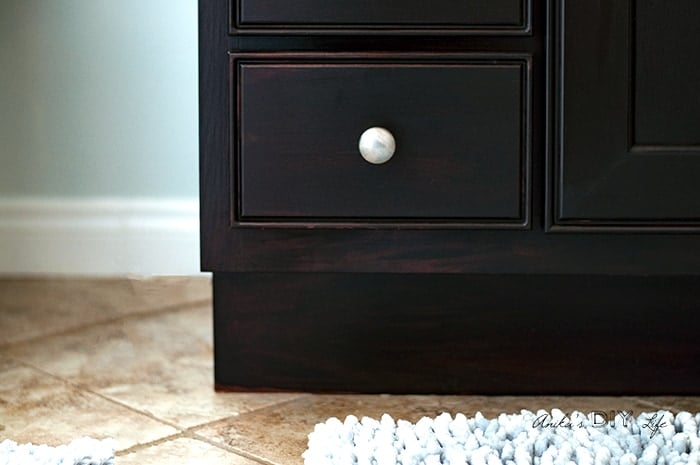
The After
It really was that unproblematic! Information technology looks every bit good as new now!
PIN THIS TO PINTEREST
Y'all couldn't even tell by looking at it that it was in such a bad state at some betoken. Plus I beloved that I didn't have to use a lot of elbow grease!
This was the outset time I accept used information technology and I must say I was quite impressed! I will surely be using it more and more!
I am digging the "Java" color also. It is then rich and nighttime. Did you see the DIY floating ladder shelf I made to add storage to this bathroom?
RELATED: How to pigment veneer cabinets
Instructions
- Remove all the knobs and accept apart any removable parts of the cabinets, so wipe down the cabinets to remove all the dirt and grime they may accept accumulated.
- Requite the surface a very light scuff with the sanding cake. Use a tack textile to wipe away all the sanding dust from the surface.
- Utilize a foam brush to utilize the gel stain in the direction of the wood grain.
- Expect 24 hours then utilize a sealing cease using a foam castor. Follow with another coat in 6-8 hours.

Source: https://www.anikasdiylife.com/use-gel-stain-update-cabinets-without-sanding/
Posted by: lamaybutioncerhat.blogspot.com
0 Response to "How To Use Gel Stain To Repair Cabinets"
Post a Comment